Grow Your Tomatoes in Straw Bales this Year
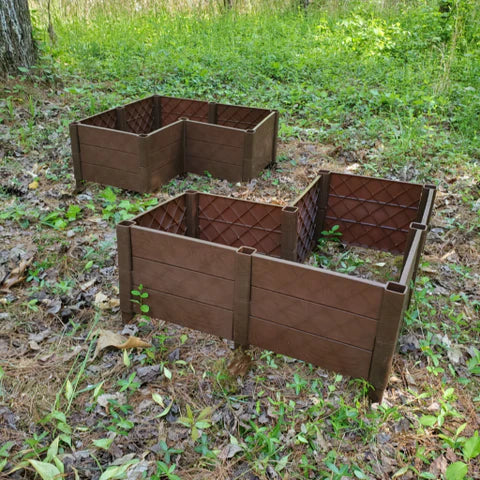
If you are new to tomato gardening or looking to upgrade your tomato growing plans this summer, straw bale gardening may be the perfect next step. A shorter-term commitment than built raised beds, straw bale garden beds get your garden up off the ground without the investment and permanence of traditional raised beds. Plus, straw bale garden beds offer a built-in composting container so the soil improves throughout the season. It’s less labor intensive and more flexible gardening—what’s not to like?

Why Plant Vegetables in Straw Bales?
The idea of an instant garden is appealing, isn’t it? No weeding, no tilling, no building raised beds: straw bale garden beds are a great option. Plus, straw bale garden beds expand the potential usable space in your yard. Since straw bale garden beds sit above ground level, you can place them in parts of your yard that have poor drainage or hard-to-work soil that have previously been a no-garden zone.
By not requiring digging or weeding, straw bale gardening is much less labor intensive. Essentially, a straw bale garden bed is equivalent to a 40 gallon garden container with the added benefit that the straw contributes to the health of the soil. At the beginning of your garden season, the straw bale is an essentially sterile medium, but by the end of the season it has transformed into partially composted organic matter that is teeming with life! After your last tomatoes (and other vegetables!) are harvested, the composted straw bales serve an additional beneficial purpose in the compost pile or as top-dressing to garden beds.
Where to Start with Straw Bale Garden Beds
You can start as small or as large as you want with straw bale gardening. Tomato authority Craig LeHoullier recounts, “My first year involved a dozen bales, planted with tomatoes, peppers, eggplants, summer squash and cucumbers. In the second year, I expanded to 40 bales, adding lettuce and other greens, leeks, garlic, carrots, beets, radishes and herbs.” He advises that gardeners new to this method start small to see how well the technique works for you. You can always expand with the growing season.
What Type of Straw is Best for Straw Bale Planting?
The best type of straw bale for straw bale garden beds is wheat-straw. Alfalfa and buckwheat straw bales can be substituted, but definitely avoid hay bales, even though they are often much cheaper. Hay bales contain seeds that can sprout into weeds, which will only cause you more work! Pine straw bales do not work well, either, as they compost very slowly and are not as absorbent.
Where to put Your Straw Bale Garden
Placing your straw bale garden is one of your most important decisions. Select a location that receives at least eight hours of sunlight per day that also has easy access to water. Straw bale garden beds can be placed on concrete or gravel and thrive, but wooden decks or rooftop gardens are not ideal due to the damage their weight can cause as well as the potential for damaging surfaces not meant to be moist for long periods of time.
How to Prepare Straw Bales for Planting
Before you can plant in your straw bale garden beds, they must undergo several steps of special preparation to create a hospitable environment for your seedings. Acquire your straw bales at least two weeks before you plan to plant in order to provide enough time for the preparation process. The 14 Day Straw Bale Garden Bed Preparation Protocol does require that you tend to the straw bales each day, sometimes to simply water them, and sometimes to apply nitrogen or fertilizer. Pro Tip: make sure to do all preparations in the location you intend to plant the garden beds, as they will be too heavy to move after the preparation process.

14 Day Straw Bale Garden Bed Preparation Protocol
Week 1:
- On the first day, water the bales thoroughly, until water runs out the bottom of the bale, then sprinkle the surface with a nitrogen source, applying at the recommended rate. (see details on nitrogen application below*)
- On the 2nd, 4th, and 6th days, simply water bales thoroughly.
- On the 3rd, 5th, and 7th days, add more of the nitrogen source and water thoroughly.
Week 2:
- For the next three days (days 8-10), apply the nitrogen source daily athalf the original rate. Follow up with thorough watering.
- Days 11-13 water daily
- Day 14, sprinkle each bale with 2 cups of balanced fertilizer, such as organic 5-5-5. Water thoroughly.
- Check the internal temperature of straw bales with either a compost thermometer or the low-tech option— your finger! More details on this below.
- Anchor sturdy stakes to the back of the bales to support tall plants as they grow
*Nitrogen Sources:
- Conventional lawn fertilizer (29-0-4 NPK).Make sure it doesn’t include pre-emergent weed-killer. Use 1/2 cup per bale, per application.
- Blood meal. Use 3 cups per bale, per application.
Why so much nitrogen?
Nitrogen jump-starts the composting process and provides an ideal environment for plant roots. Over the course of the two week protocol, the bales heat up considerably and can reach temperatures of 125 degrees F or more.
Check Internal Temperature of Straw Bale Garden Beds
After this two week protocol, your straw bale garden beds should be ready for planting. The internal temperature should be 75 to 80 degrees F, which you can verify with a compost thermometer. Probe from the side of the bale, about halfway down to get an accurate reading. Low-tech option: Use your finger. The interior should feel warm, but not hot. If the bale feels too hot, wait another couple days and check again.
How to Plant Tomatoes in Straw Bales
Once your straw bale garden beds are prepared and in the right temperature range, it’s time to plant! To plant your seedlings into your straw bales, simply make a gap or divot in the top of the bale and set the roots in place. Fill in around the roots with potting soil to ensure they are well-seated and level with the surface of the bale. Water gently and add more soil if needed.
Plant up to two tomato seedlings per bale, making sure they have appropriate support with trellises or stakes. If you can’t offer trellises or stakes, choose dwarf or determinate tomato varieties.
Support Your Tomatoes in Straw Bale Garden Beds
If you intend to install supports like stakes for use withtrellis netting, keep in mind that the stake must be hammered into the ground beneath the straw bale. Over the growing season the bales will soften and be unable to support the plants as they grow taller and become heavy with tomatoes. Wire tomato cages will work for medium sized plants, but not for varieties that tend to get quite tall and top-heavy. Compact tomato plant varieties and dwarf varieties can be surprisingly productive, and their scale is particularly suitable for straw bale gardening.
Troubleshooting Straw Bale Garden Beds
Watering: After you plant your seedlings, keep in mind that base can dry out quickly because they are above ground and permeable. Remember to water regularly or equip your straw bale garden beds with soaker hoses or drip irrigation.
Feeding:Feed your crops once per week with balanced, water-soluble plant food. The frequent watering that straw bales require leads to quicker nutrient loss, so consistent feeding is essential.
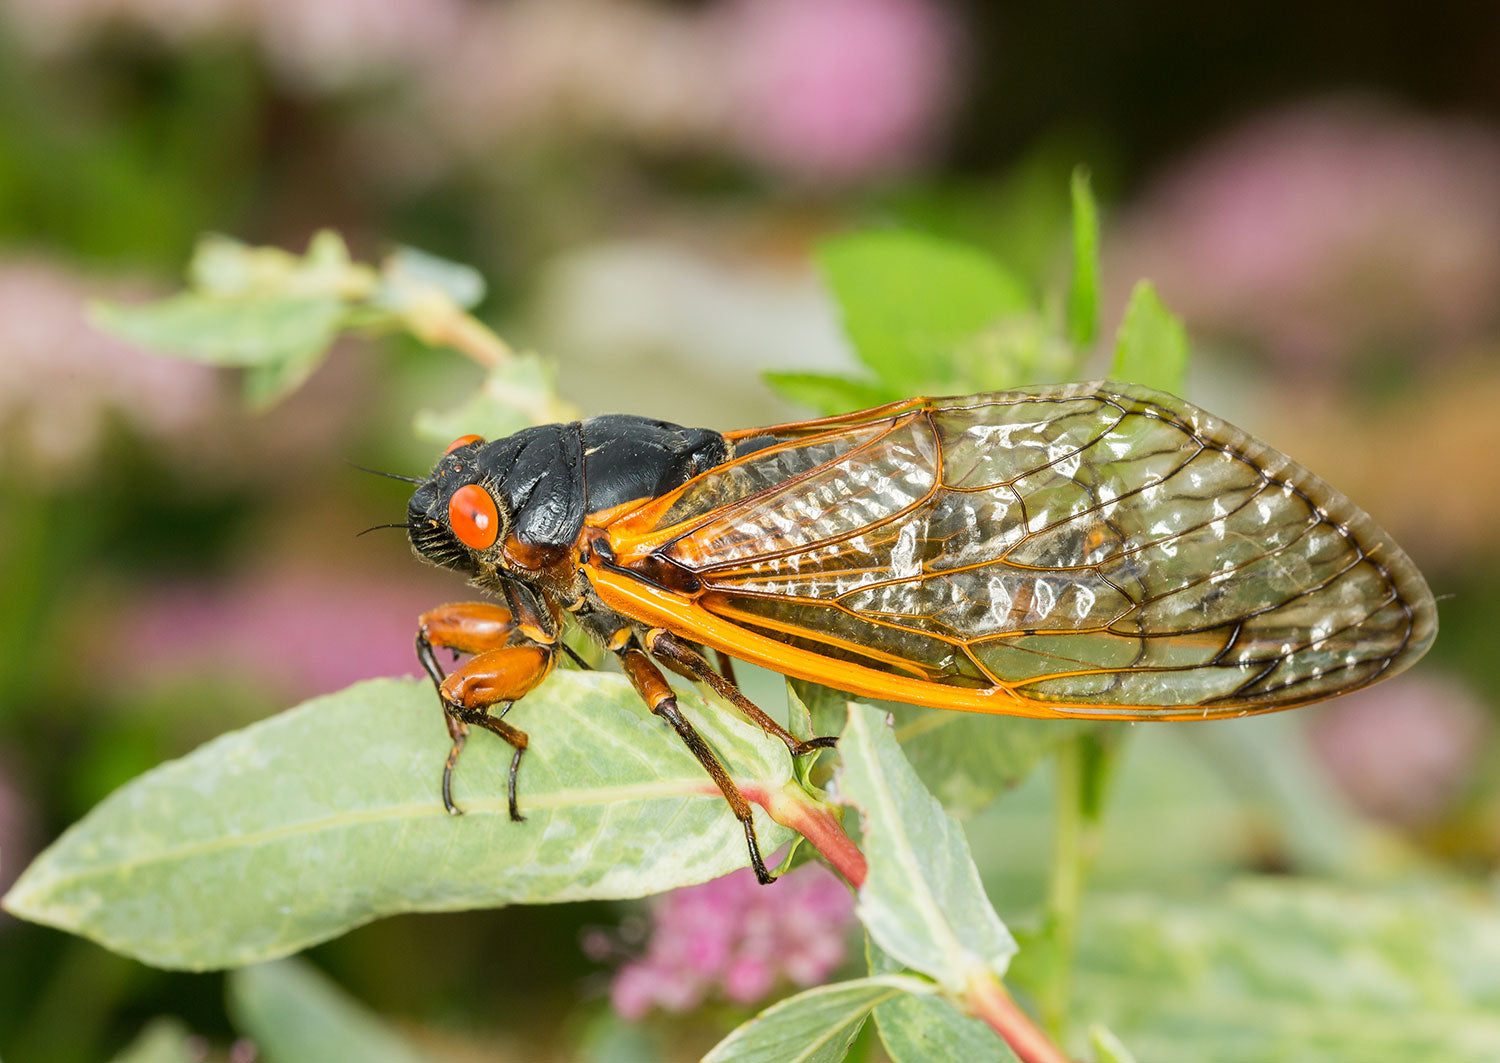
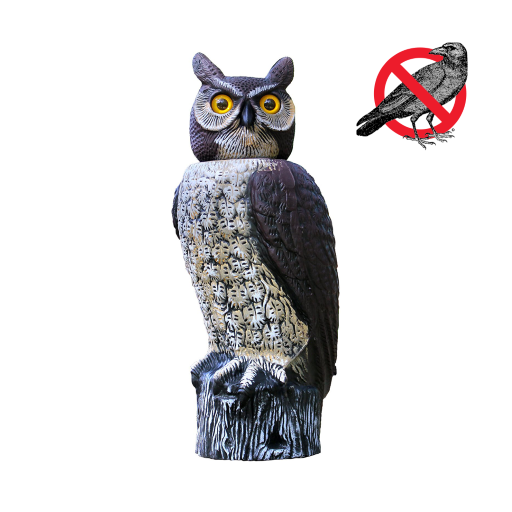
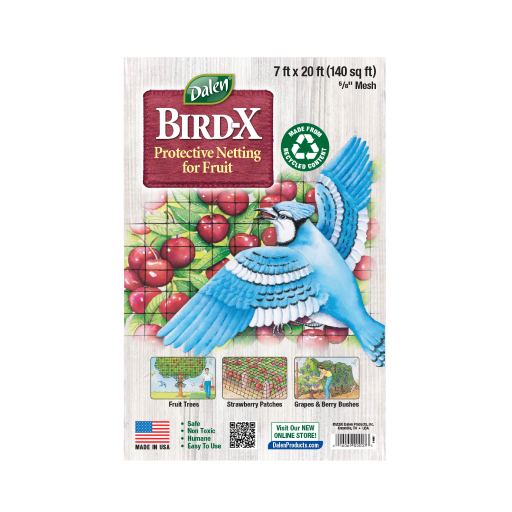
Pests:The elevation that straw bale garden beds offer deters some pests and critters like rabbits, but you may find that you need to pest-proof your garden more thoroughly. Here at Dalen Products, we offer many options for reducing pests in your garden. To read more, check out 15 Ways to Keep Pests Away.